Adding Custom Fonts in Flutter Application

Firstly lets create a default application using Flutter with below steps
Create a new Flutter project
- Start Visual Studio Code application
- Click View and select Command Palette
- Search for ‘flutter’, and select the Flutter: New Project from the given options
- Enter a project name of choice, make sure to use all small case letter or with underscore and then press Enter
- Specify a location to place the project, and press OK

After project is loaded, you can run the app using flutter run from terminal and make sure to open iOS simulator or Android Emulator before running. I am using iOS simulator for this demo

When project is loaded to simulator, it should present you with default app with a button that increments by 1 on App’s UI as below

Now go to font downloads site of your choice and download custom font you like, I am using dafont link to download zip file of font SilverPan. Unzip the file and you will find both ttf and otf file extension files, I will be using ttf file.
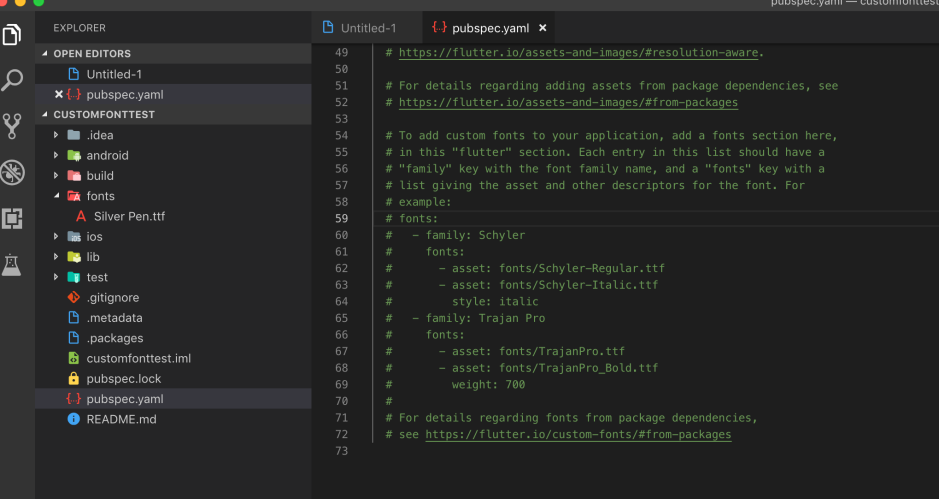
Now create a folder called fonts and copy the file into it. Also, just in case make file name to all small case.
Now open pubspec.yaml file and uncomment fonts section in it (Should be at the bottom of the file)

Now add change the default font to Silverpen as below

Now go back to main.dart file and apply style at material app theme and its font family as below

Now re-run the app using flutter run command from terminal, we should see now app with new font we applied as below.

I hope this blog is useful to you, happy coding.
Here is the link to git